
Turn Seaside Treasures Into Fun DIY Projects

There are so many things you can craft using shells you find on vacation. From personal accessories and stunning home decor to colorful creations your children will love!
The following projects were completed using my 3 year old beachcombing collection, leftover craft supplies from previous projects, and broken jewelry. I did have to run out to the store for a few items I didn’t have on hand, but in total I only spent $20. Most of you will more than likely have these items I was missing lying around your house already.
**Before we dive in it’s important to mention you should be mindful of what you’re picking up and taking home. Always be sure to check your shells for critters before collecting them. If you see a little dude chilling in the shell you so desperately want, get over it and put him back. You’re sure to find another like it that isn’t currently being used. In some places it is even illegal to collect certain shells/specimens, so be sure you’re aware of those regulations before you begin. You should never collect live rock (ocean rock that has living organisms on and in it), live coral (it will be “bleached” if it is no longer living), or live sand dollars (if they’re alive they will be a greenish color and a little fuzzy). Take extra care while snorkeling or free diving for seashells as you’re more likely to encounter occupied shells this way**
Ariel’s Hair Pins
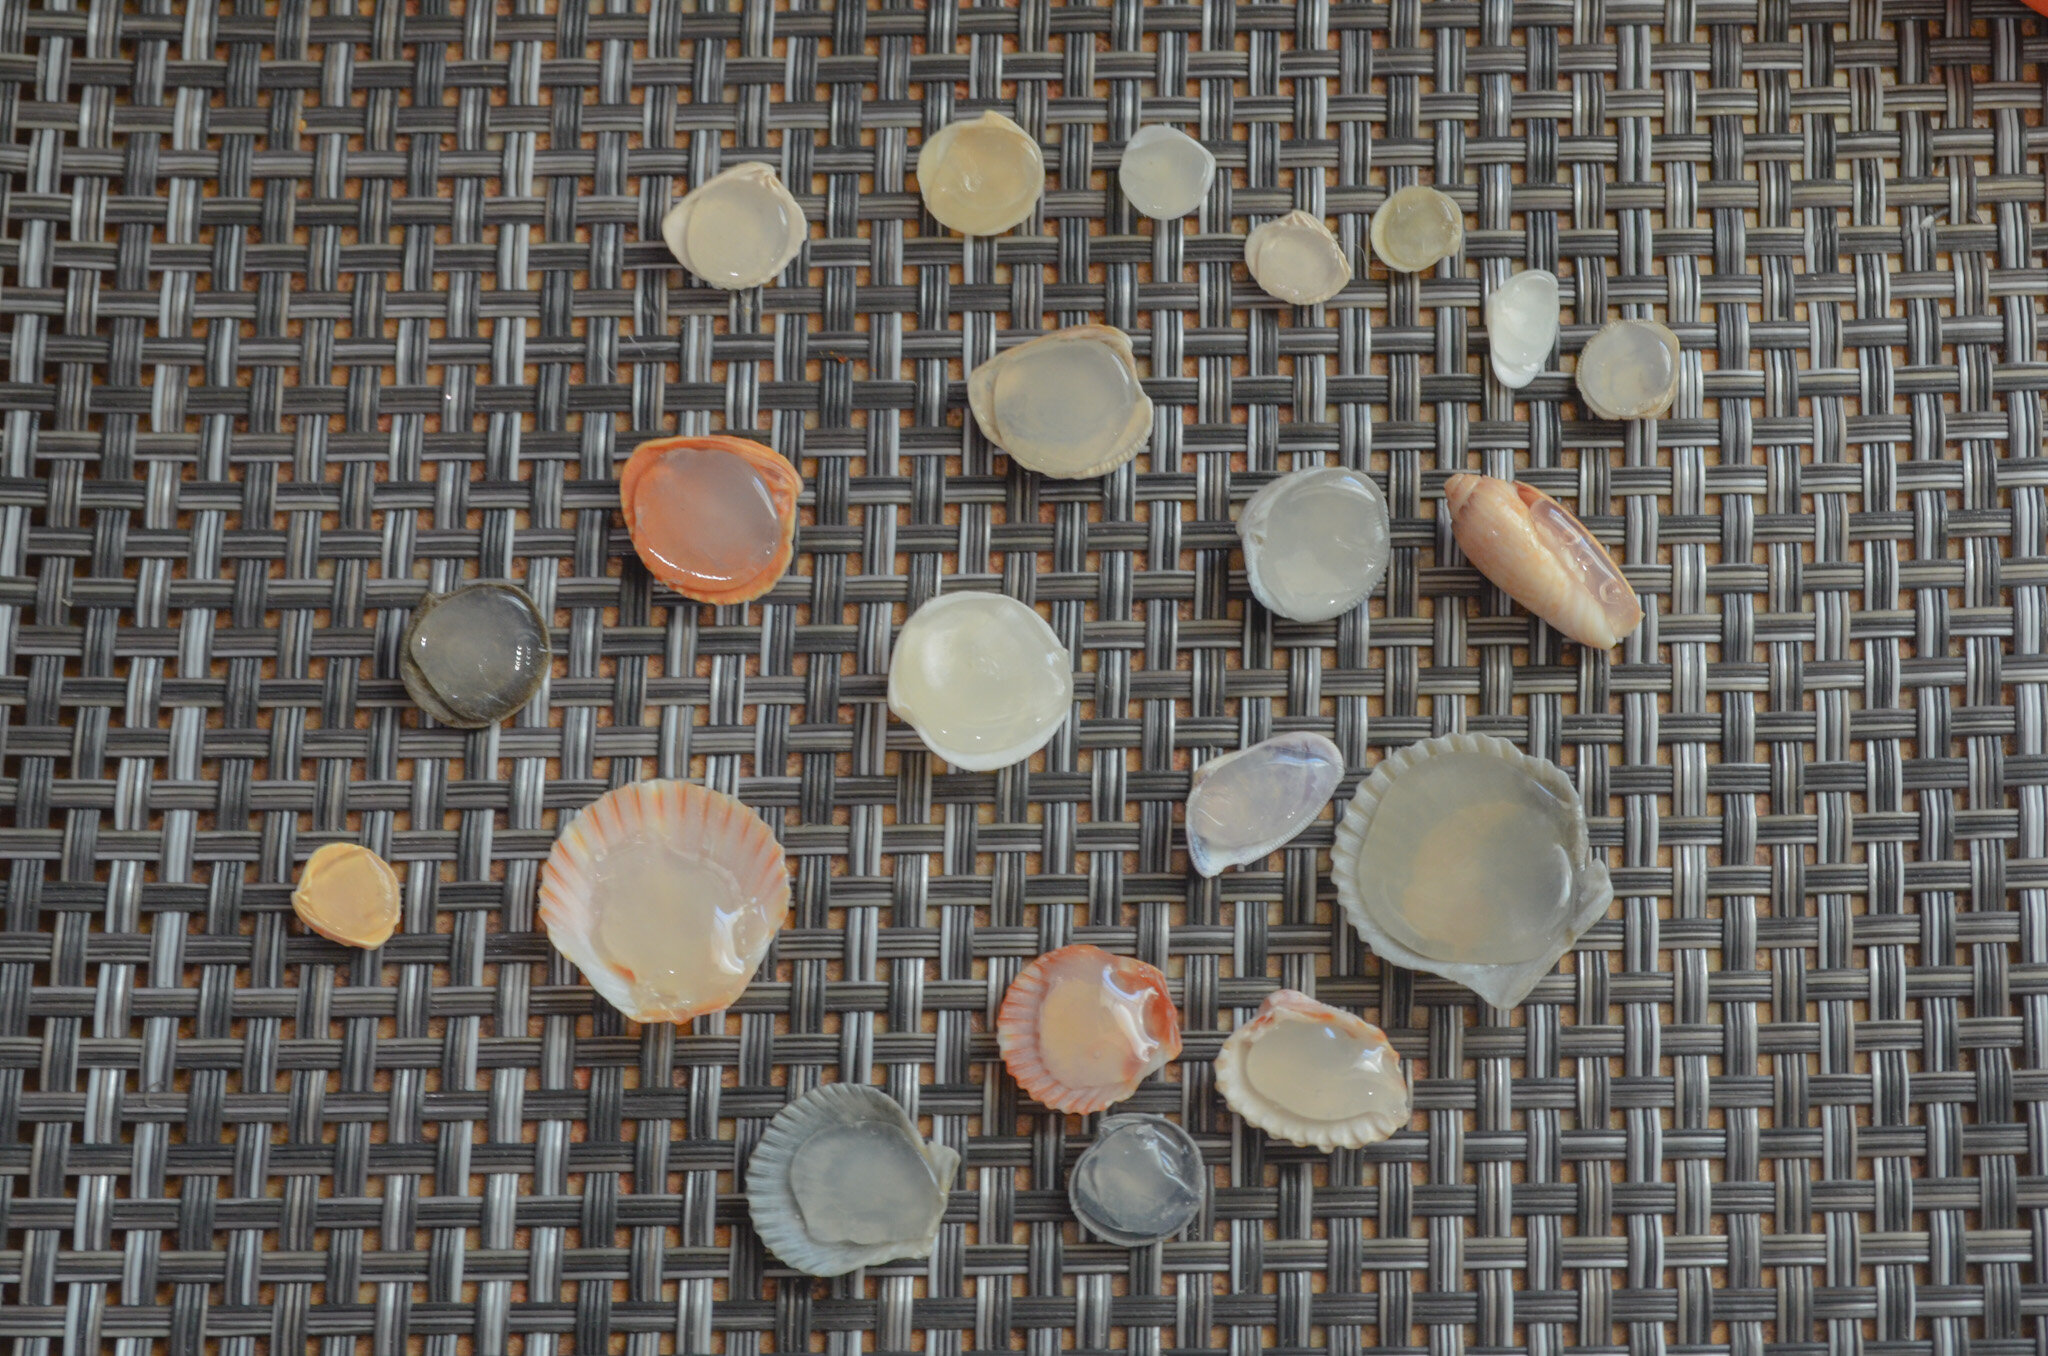
This was probably my favorite shell craft I have done so far. I was worried these hair pins would end up looking gaudy once they were placed in my hair, but I was pleasantly surprised to find they turned out to be very elegant and beautiful! I figured the pin with an olive shell would be my favorite, or perhaps one with a scallop shell, but my favorite is actually the pin that includes 3 baby Dosinia shells.
Teeny tiny baby shells are among my favorites to find so I was so excited to turn some of my prettiest ones into an accessory I can wear all the time.

What you’ll need:
Bobby Pins
Small Seashells (only choose shells that are smaller than a quarter)
Hot Glue Gun
Epoxy Glue
A barrier of some sort to keep your work surface protected
Step 1: Gather the seashells you want to use for this project and fill their undersides with hot glue so you’re left with a flat surface to adhere to the bobby pin. Allow the glue to dry before moving on to your next step.
Things can get messy quickly with hot glue. A technique that helped me out tremendously during this project was licking a finger and smoothing the hot glue after filling the shell. This allowed me to be conservative with the amount of glue that was used.

Step 2: Apply epoxy glue on top of the dried hot glue in each shell. Don’t be worried about the glue drying before you can get pins on every shell. Epoxy glue is a very tacky glue and works even better when it has dried a little before adhering something to it.
Step 3: Allow your hair pins to dry in the position pictured above for at least 30 minutes to ensure everything is secure.
Aromatherapy Shell Lights

These adorable seashell tealight candles are such a great addition to a relaxing bath. They make it even easier to imagine I’m on the coast somewhere and not in my bath tub in rural Alabama. I added some of my favorite scents to the wax and violà! Magic.
I’m definitely no connoisseur of essential oils, I just happened to have some left over from making candles as Christmas gifts a few years ago. If you don’t have any oils on hand, I wouldn’t suggest running out to get any. From what I remember they can be kinda pricey. The end result will be just as tranquil without scent being added to the mix.
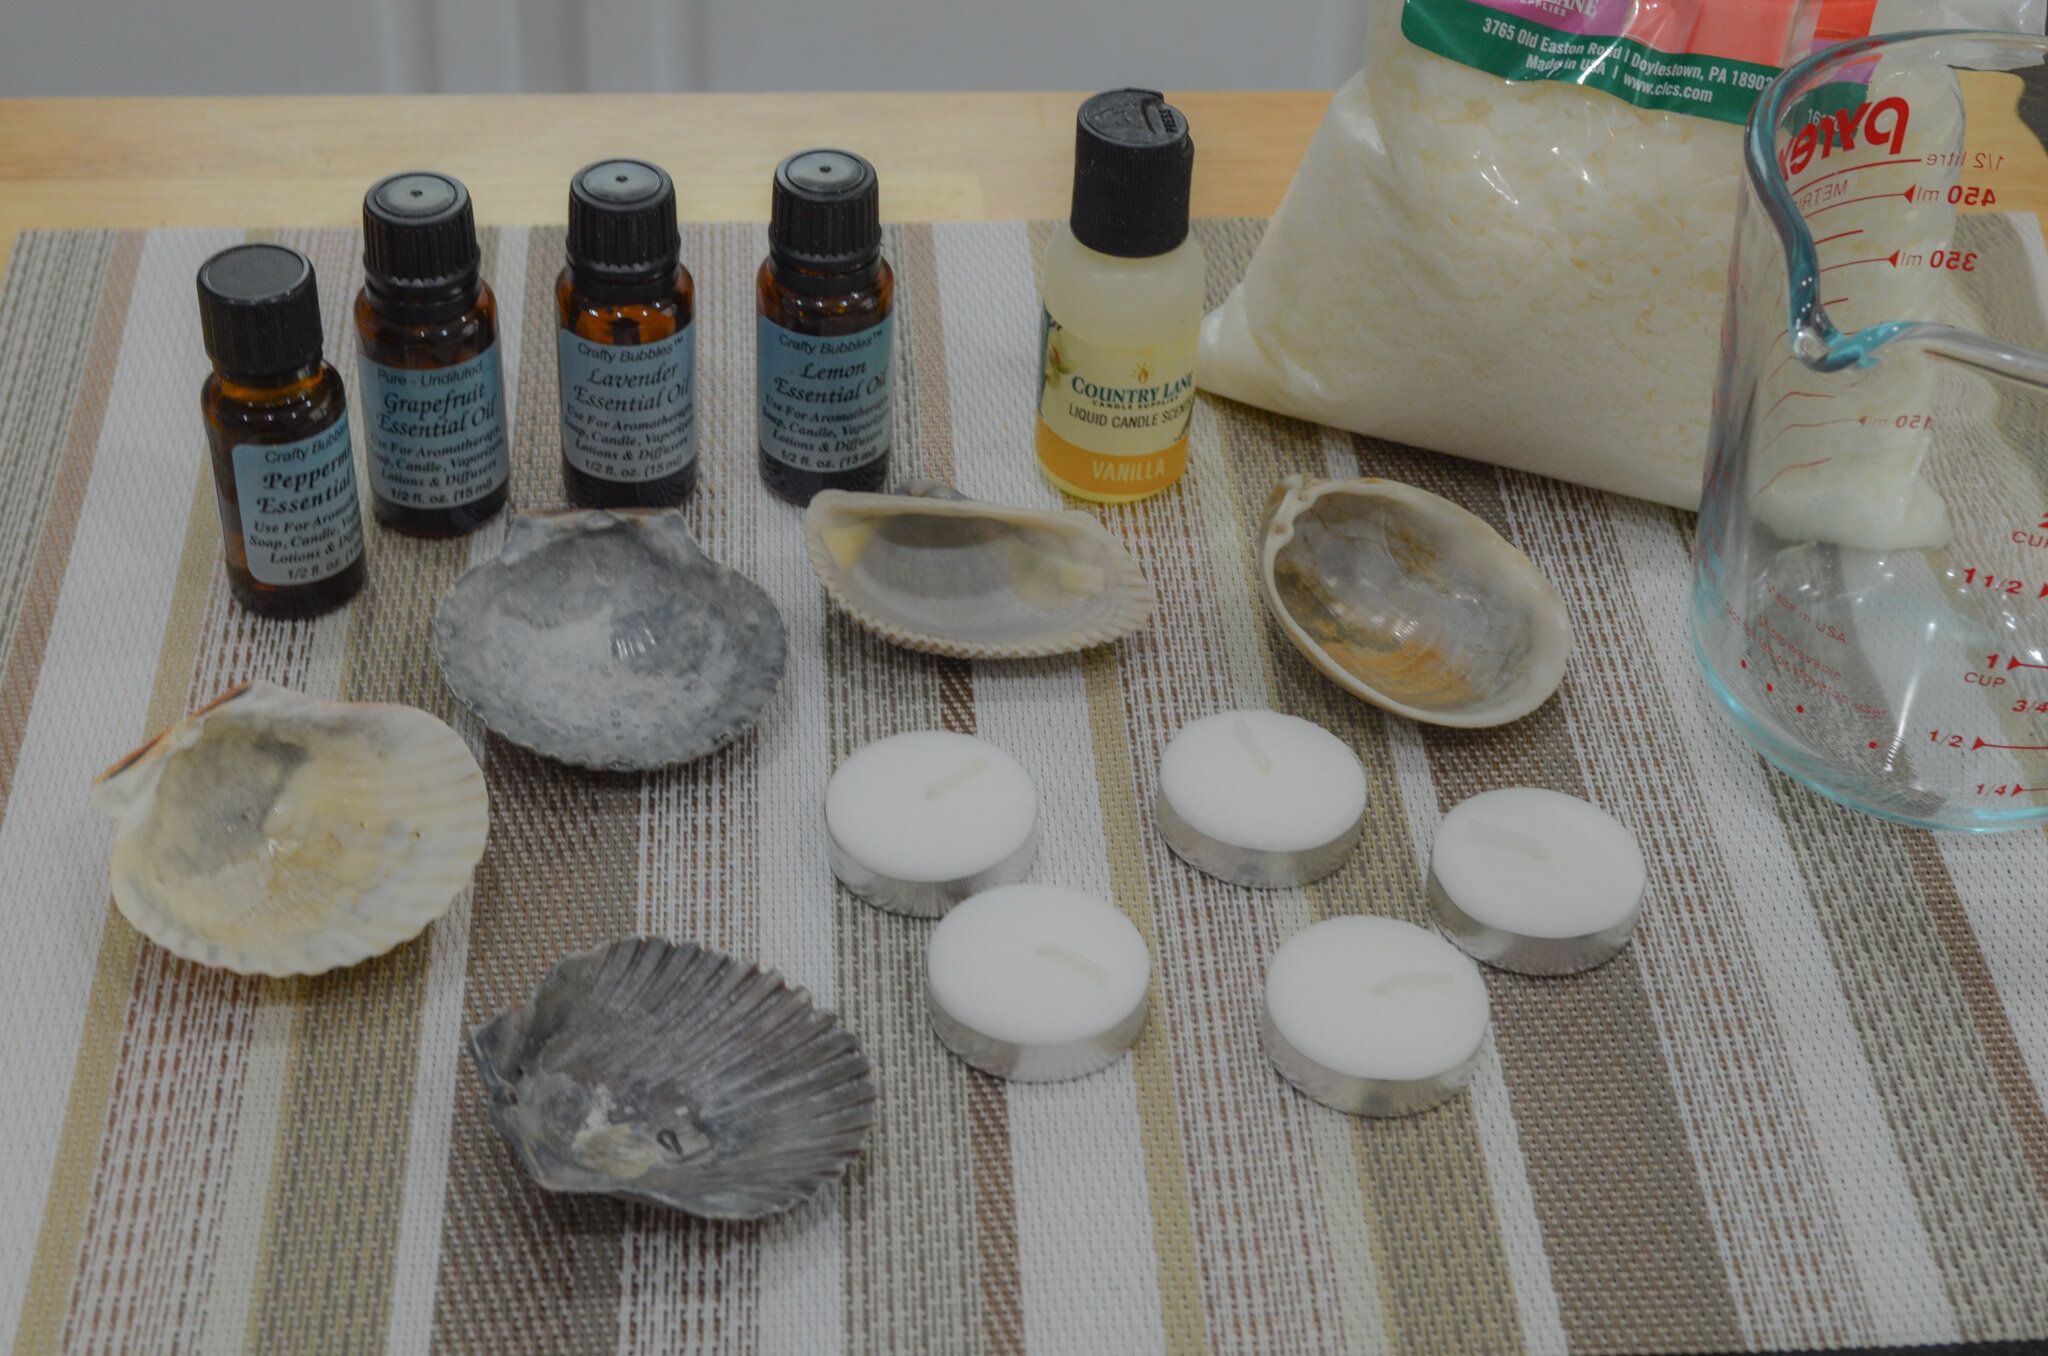
What you’ll need:
Seashells with deep wells (Scallops, Ark Clams, Cockles, etc.)
Soy Candle Wax (you can also just reuse the wax from the tealights if you don’t have soy wax on hand)
Wicks (I used the wicks from the tealights I bought)
Small Pot
Glass Measuring Cup
Glue (any glue can be used; you only need it to steady the wick while you pour the melted wax)
A barrier of some sort to keep your work surface protected
Clothespins for steadying the shells while you pour
Essential Oil of your choice (optional)

Step 1: Remove wicks from tealights by taking the candle out of the tin and pulling the wick from the bottom.

Step 2: Glue the wicks to the center of each shell. I used hot glue, but Elmer’s glue would even work. You’re goal is just to secure the wick a bit so it doesn’t slide around while you’re pouring the melted wax.

Step 3: Place the wax you’re using in the glass measuring cup, put your measuring cup in the pot with the handle hanging over the side, and bring water to a boil. You only need about 2 inches of water, you don’t want it to splash over into your melted wax.
I would have solely used the wax from the tealights I bought just so it didn’t go to waste, but since I had soy wax on hand I added that to the mix too. Soy wax burns slower which will make the shell light last longer, and soy wax is also so much better for our environment. Soy wax is derived from soy beans while paraffin wax is derived from crude oil (a non-renewable resource).
Step 4: Stir the wax around until it melts completely and then add in however much essential oil you want. I chose lemon and grapefruit and then made a separate small batch of lavender scented wax.

Step 5: Gently pour your melted wax into the shells, leaving some room at the top.
As you can see, I made quite the mess during this step. I re-poured twice before I realized I had 2 shells that had small holes in them allowing the hot wax to trickle out. Do yourself a favor and check your shells for holes before you get this far. I initially used the clothespins thinking the wax was simply flowing out due to the shells being slightly off balance. So actually the clothespins are not a necessity, but through trial and error I realized I was able to pour more wax into each shell by having them slightly raised on one side; it changes the shells equilibrium. Science.
Step 6: Allow candles to dry for at least 30 minutes before moving.
Clam Fam

So these are actually scallop shells and not clam shells, but your children won’t care and I couldn’t come up with a play on words for our craft using the word “scallop”.
This little project was so very fun and my 4 year old son had a blast with it. This would also be a great activity to do while on vacation with your kids if you plan on having a night in instead of going out while you’re at the beach.
Originally I picked a shell for each of our family members including our son who is still on his way, but my 4 year old said, “Mama you forgot Cooper and Chloe and Sulley!” (our pets) so I picked out 3 more scallop shells from my collection. Time for more shelling. Hey, no complaints here!
What you’ll need:
Shells of any kind will work, just make sure you have varying sizes to represent your family members!
Acrylic Paint
Paintbrush
Googly Eyes
Epoxy Glue
Plate or something similar to use as a palette (if you only have glass plates don’t worry; as long as you use acrylic paints it will peel off)
A barrier of sorts to keep your work surface protected

Step 1: If you have recently washed your shells be sure they are dry before you begin painting, then paint each shell the desired color. Allow each coat of paint to dry for an hour.

Step 2: Once paint is completely dry, apply epoxy glue to googly eyes and place them on your shells! You’ll want to allow at least 30 minutes of drying time for the glue to set before the kids play with them.
Seaside Glitter Ornaments

I plan on turning these shells into ornaments before Christmas gets here. I need a dremel so that I can put holes in them for threading. The one pictured above that is already completed had a hole in it when I found it. You could look for shells with holes in them to avoid needing a dremel for this craft.
I haven’t quite decided if I am going to turn my Queen Pink Clam into an ornament or turn it into a candle since it has a deep well. I’ve grown very attached to this shell. My husband and I found this shell while we were on our very first vacation together, and regardless of us being together nearly 12 years, this trip was only 2 years ago. Besides being a souvenir from our first trip together, I’m also attached to it because it reminds me of this very funny memory from our trip to Dallas:
We had an unexpected charge come out of our bank account, so with no money left and a massive hangover, we had to walk 11 miles to make it halfway to the airport because we couldn’t afford a longer uber ride. We must have been a sight to see. We obviously weren’t prepared to walk halfway to the airport just to make it home. We were dragging suitcases behind us and the only shoes I had with me were flip-flops from Target.
My beloved hot pink suitcase was just as disheveled as I was after walking so long in the Texas sun. That was the one and only time I got to use that suitcase because two and a half wheels fell off during that walk. Yes, two and a half; she didn’t have her walking shoes on either. After mile 7 one of my flip-flops came undone and that was it, I couldn’t hold it in anymore. I laughed so hard I cried. You’d think we would be freaking out during all of this, but the whole ordeal was hilarious. We tend to have strange luck together.
My Queen Pink Clam was found on that 11 mile walk to meet our uber driver. We found it covered in the dirt on the side of a highway, far far away from any beach. I have no clue how it made it there, but it’s always brought a smile to my face because it reminds me of that pink suitcase.
Back to the crafts
What you’ll need:
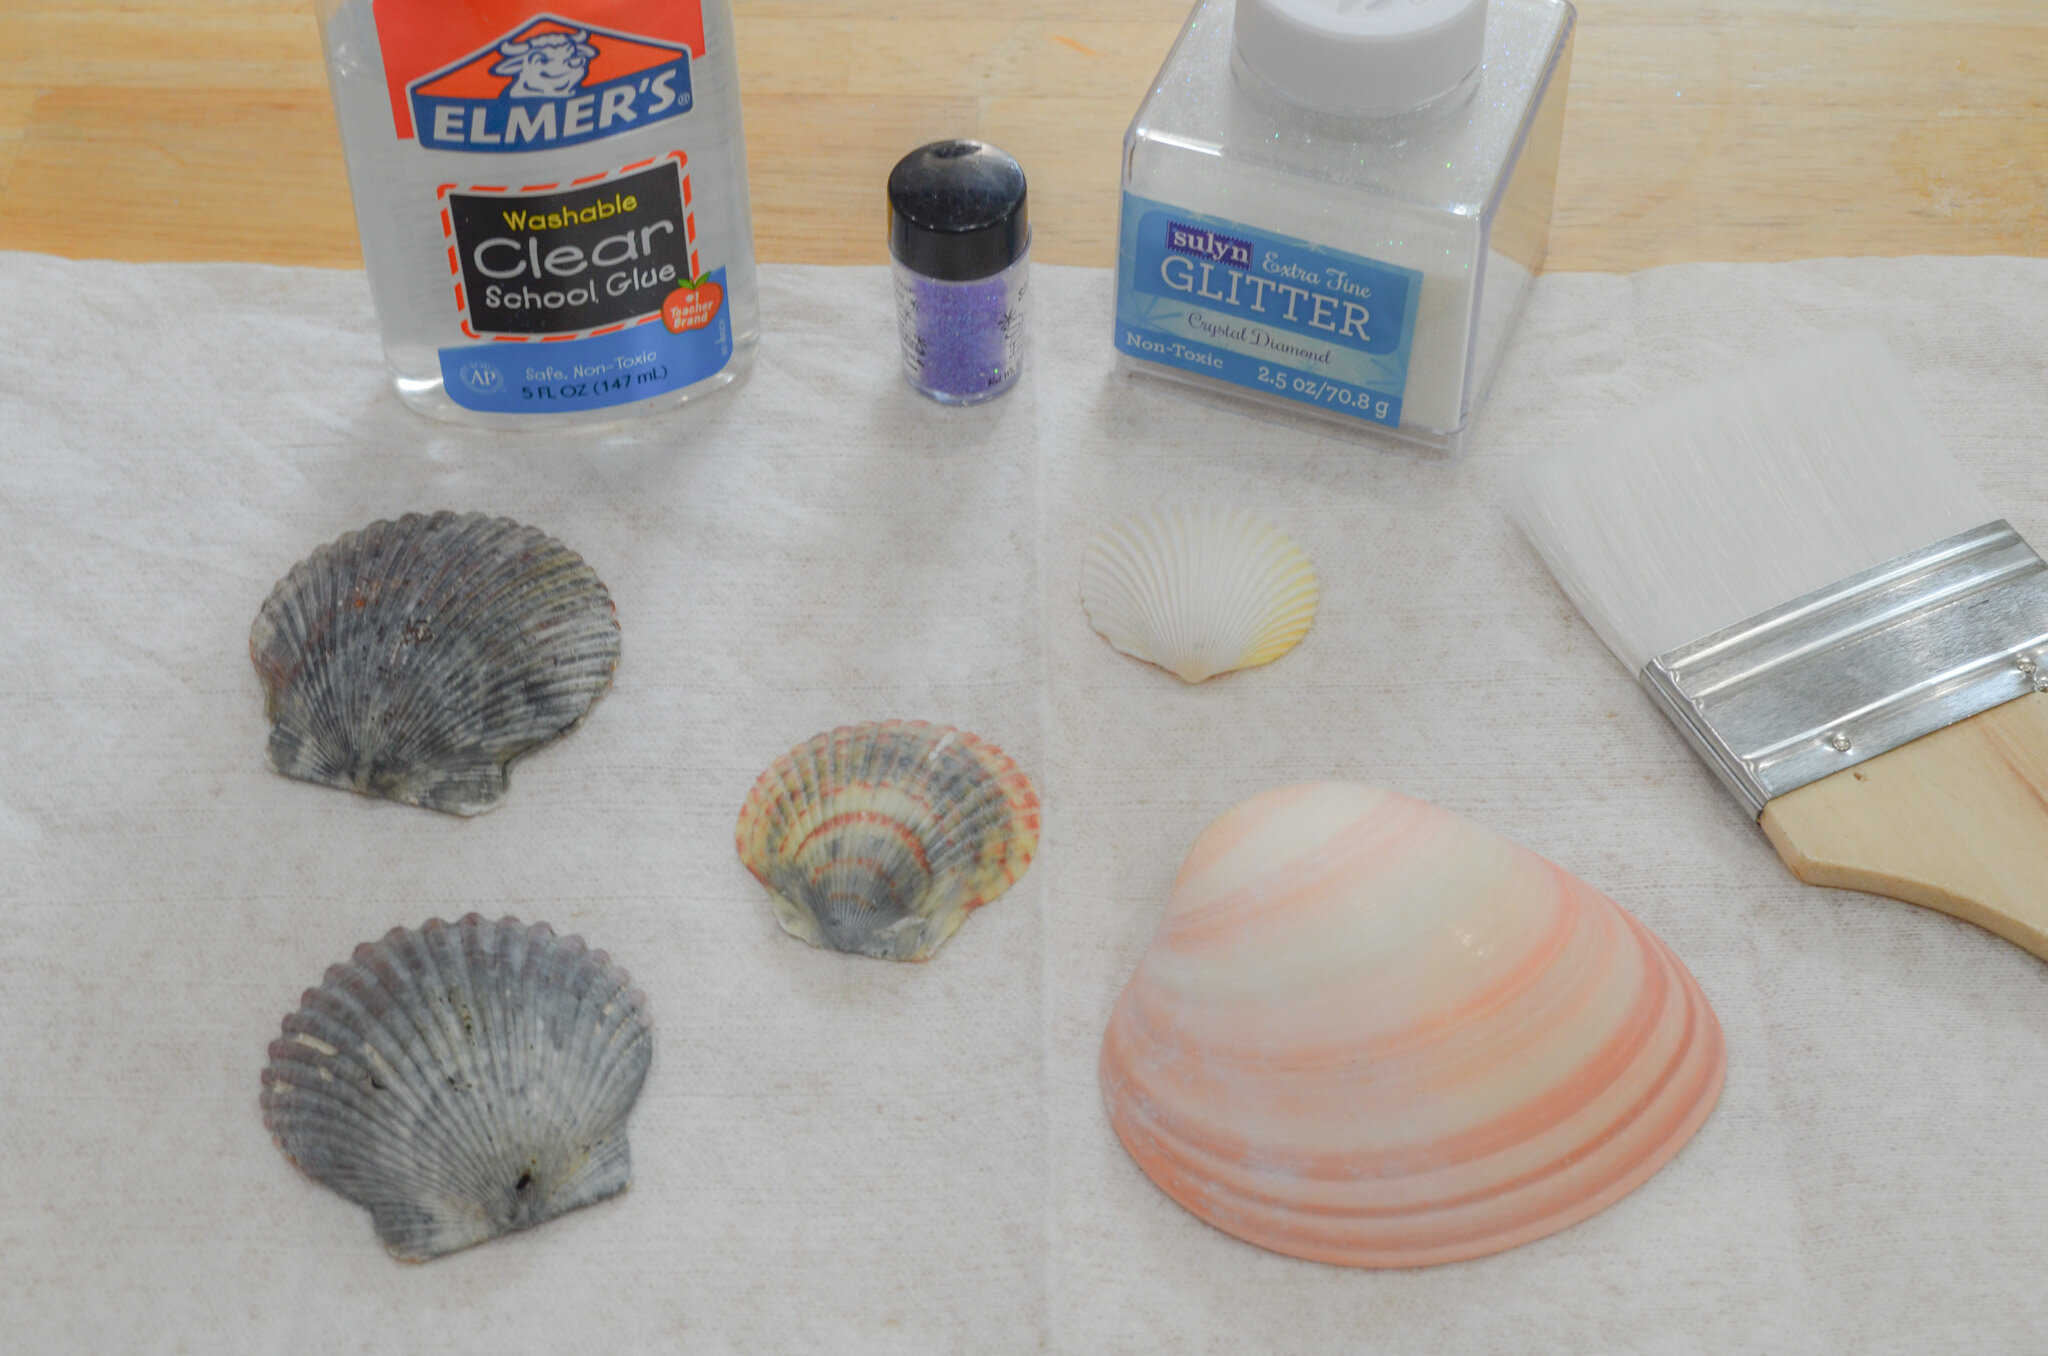
Shells
Fine Glitter (a white glitter will allow natural coloring of the shell to show through)
Clear Elmer’s Glue
Large Paint Brush
Jute Cord or Thread
Beads (optional)
Dremel (if your shells do not have natural holes)

Step 1: Apply glue to each seashell and use your paint brush to make sure there is an even coating before applying glitter.
Step 2: Apply glitter by gently shaking the container of glitter above the shell.
Step 3: Allow at least 2 hours to dry completely before handling.
Step 4: Use a dremel to create a hole that will accomodate the thread you are using. Thread your shell, add beads if you wish, and then tie a simple knot to complete your ornament.
Calypso’s Succulent Planters

What you’ll need:
1-2 miniature terracotta flower pots, depending on how many shells you want to use
Seashells
Hot Glue Gun
Step 1: You’ll want to fill the empty part of the shells with hot glue just as we did in the hair pin craft so you have a flat surface to adhere to the flower pot.
Step 2: Hot glue the shells to your flower pots in a design of your choice.
Step 3: Allow to dry for 30 minutes before moving.
Beaded Seashell Keychains

What you’ll need:
Shells with natural holes (or you could use a dremel to create holes)
Jute Cord (thread will work too, you’ll just need to double it up)
Keyrings
Beads
Hot Glue (optional)
Step 1: Thread your shells and beads according to how you want your keychain to look.
Step 2: Secure your keychain by tying it around a keyring. Be sure to allow space for the key ring to rotate while in use.
I used hot glue in this craft by applying a dot of glue to the end of each thread. I’m terrible at tying secure knots so this was just a preventative measure I took. More than likely it’s not necessary but it makes me more confident that my keychain will not fall apart.
Fun Fact: The perfectly circular holes you find on some of your shells are actually caused by Moon Snails. In the picture above, the shell on the right is that of a Moon Snail and the one on the left was a victim. Moon Snails are carnivorous sea snails that crawl on top of bivalve mollusks, drill a hole into their shell, inject acidic saliva and then suck up the liquified mollusk for dinner! Pretty brutal, but their shells are beautiful.